
All it takes is one round of leavings or charred bag of popcorn to turn a foamy clean microwave into a stained, funky mess. The trick to keeping a tidy kitchen countertop microwave is regular maintaining- every couple of days, at the minimum.
When you notice spots on your microwave’s innards or intend to do down with wedged-on food, count on this reliable overview on just how to cleanse a microwave by Carolyn Specialty, Supervisor of the Great Housekeeping Institute Cleansing Lab.
Unlike colorful other cuisine area bias, you can clean a microwave with day-to-day sanctification particulars you formerly have in your hearthstone, conforming of all-purpose cleanser, baking soda, dish wash liquid soap, or vinegar ( white or apple cider).
That is right, stay down from bleach because it in fact damages the plastic innards as well as damages the appliance in the long- run.
Unless you allow tomato sauce splatters to sit for as well long, microwaves do not typically discolor like numerous kitchen counters as well as sink, so the decolorizing or bleach cleanser is gratuitous, to begin with.
Presently, follow this expert-tested overview to cleanse your microwave from the outside inside, turntable, and all.
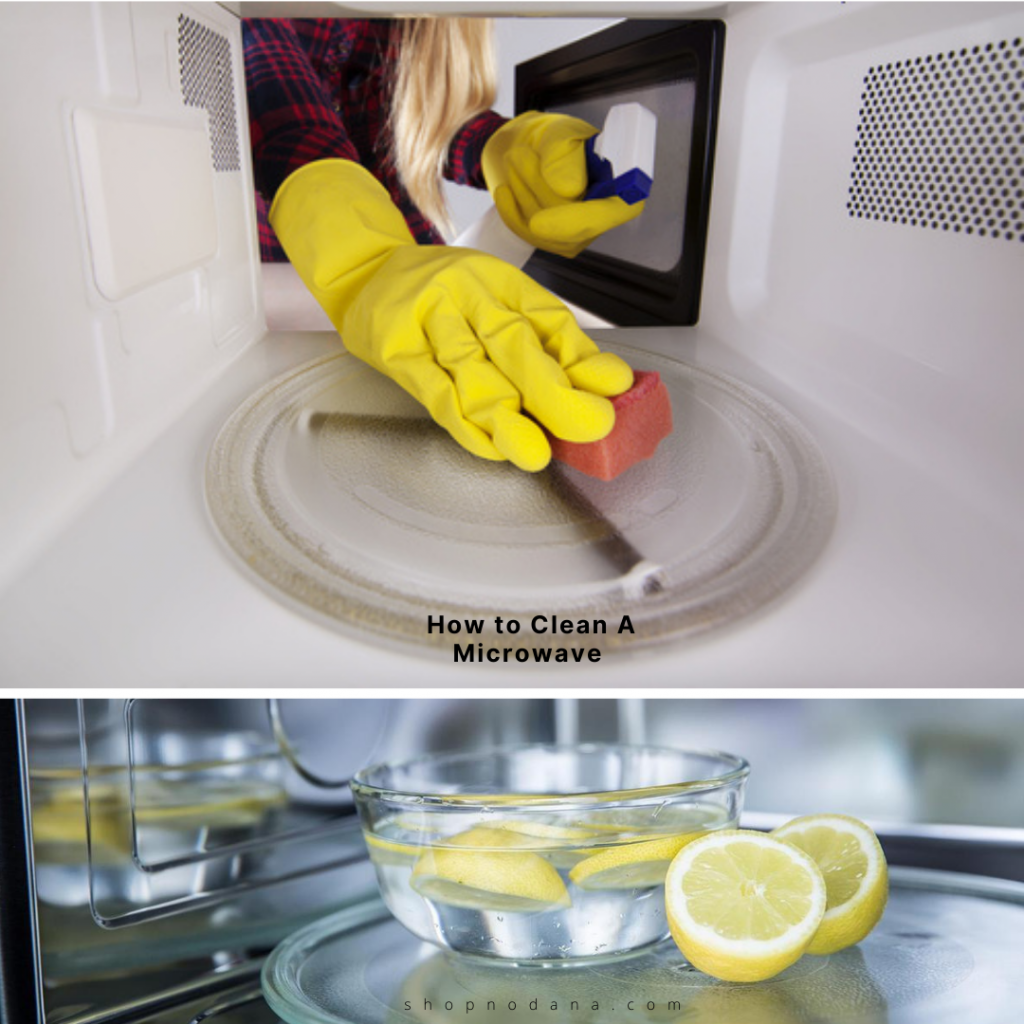
How to Clean the Inside of a Microwave with lemon and vinegar
The admixture of splatters and smells can leave your microwave looking, well, harsh. To target your microwaves’ interior- the turntable comported of following this step-by-step.
1. Combine 1 mug of water and lemon, lime, or orange pieces ( squash the juice from the fruit slices into the water) right into a microwave-safe bowl. If you have any types of vinegar mix a few tablespoons and also 1 cup of water into a bowl(microwave safe)
2. Position it inside the microwave and turn it high power for a few minutes until the mixture boils and the window smogs up.
3. Let it cool for 5 mins before opening the door, and after that exclude the dish as well as wipe the inside tidy with a soft cloth or sponge.
What You Need to Clean a Microwave Properly
[aawp box=”B000I9QJ5S,B09P41G1MK,B08492Q875,B08BW9Y7KV,B07KFFMHQF,B00NPPCJ2O” template=”horizontal”]
How to Clean Greasy Microwave Doors instantly
Not only on the inside we need to remove the smudge hard grease and stains from the outside of the oven. here are some tips and tricks that might help you to clean microwave doors.
1. Clean the entire door, edges, both sides, as well as where it locks the microwave-with a sponger damp with water and also dipped in a little sodium bicarbonate or baking soda. Wipe with a dampened soft cotton cloth to wash.
2. For a greasy door, clean with a50/50 mix of white vinegar as well as water. Rinse and wipe fully dry.
For heavy cringing grease accumulation, wipe your microwave door down with an all-purpose, grease-cutting cleaner (Mr. Clean Freak Mist) or a foamy blend of dish cleaner as well as water. Use the cleanser with a soft cotton cloth or sponger to stop the cleaner from getting involved in the air articulation openings. Attempt not to spot electronic controls with the cleaner to stay clear of damage.
How to get a burnt Smell (and All Odors, Really) Out of the microwave
When you exfoliate snacks in the microwave oven, the smell comes back as soon as you transfigure it back on. That indicates it’s the finest time to get rid of those smells.
1. For light smells ( hot and spicy food with a strong scent), air it out by leaving the door open or keep a mixture of baking soda and water inside the door closed to the bad smells.
2. For strong and powerful odors ( suppose scorched popcorn), clean any kind of remaining residue as well as put an odor-absorbing gel outside, like “Fresh Wave”, until you run it again.
[aawp bestseller=”microwave” items=”10″ template=”table”]
How to Get Rid Of Stuck-on Food From the microwave’s Interior
To remove dried-on food, always try to use Mr. Clean MagicEraser.However, simply put the turntable in the dishwasher or wash with your hand with foamy water, If it’s stuck to the turntable. Simply make sure that you have heard your product’s manufacturer’s manual before using it.
Microwave Cleaning Hacks
Hack #1: Cleaning with soap
Operation method:
- Put a little dishwashing liquid in a bowl of warm water. Soak a sponge and squeeze it into the bowl until the water is full of foam.
- Remove the turntable and rub it into the sink with a soapy sponge. Rinse it off and leave it to get dry.
- Try to remove all crumbs from inside the microwave with a damp paper towel or cloth.
- Use a soapy sponge to clean the interior surfaces, starting with the top. Using a circular motion, cover the top, sides, bottom, and door
- with foam, being careful not to get into the slots. Repeat with a clean lather to make sure all the dirt is gone.
- Wipe all surfaces with a wet paper towel to remove the foam, being careful not to get water into the holes.
- Now, wipe everything with a dry paper towel or rag to avoid streaks from appearing.
- Replace the turntable.
Non-interference method:
- Put a small amount of dishwashing liquid in a microwave-safe bowl and fill it with warm water. If the microwave needs to deodorize,
- add a little baking soda to the mixture.
- Put the bowl in the microwave and turn it on over high heat for five minutes.
- Let it stand for another five minutes. Then remove the bowl. Note: It may be hot.
- Remove the turntable, wipe it with a damp sponge and dry it with a paper towel.
- Wipe microwave surfaces with a damp sponge and dry them with a paper towel.
- Replace the turntable.
Hack #2: Clean with window cleaner
Warning: Most window cleaners contain ammonia, which should never be mixed with other household cleaners.
- Take a microwave-safe bowl and spray about ten pumps of window cleaner into it, or pour for about two seconds, then add about a cup of water.
- Spray the inside of the microwave with window cleaner—especially for large, baked-on spills.
- Put the bowl in the microwave and turn it on high for about five minutes.
- Wait about five minutes and carefully remove the bowl. Note: It may be hot.
- Remove the turntable and wipe it first with a wet paper towel, then with a dry towel.
- Do the same with the inner surfaces of the microwave, starting at the top and working your way down. Make sure to wipe it completely dry.
- Replace the turntable.
Doesn’t that ultra-clean microwave make you proud? Now, to keep your microwave clean—and avoid messes and lingering odors—wipe the interior weekly and clean up spills and stains as soon as they occur.

